Connecting a MIDI Device
Just like for USB audio, eXtream Software Development has written a driver to use class-compliant USB MIDI interfaces. This also includes MIDI ports on a USB audio interface and some MIDI keyboards that feature a USB connector. Using a MIDI input, one could record MIDI events on a MIDI track and/or play virtual instruments. Using a MIDI output, one can drive synthesizers, drum computers, effect processors and more.
Requirements
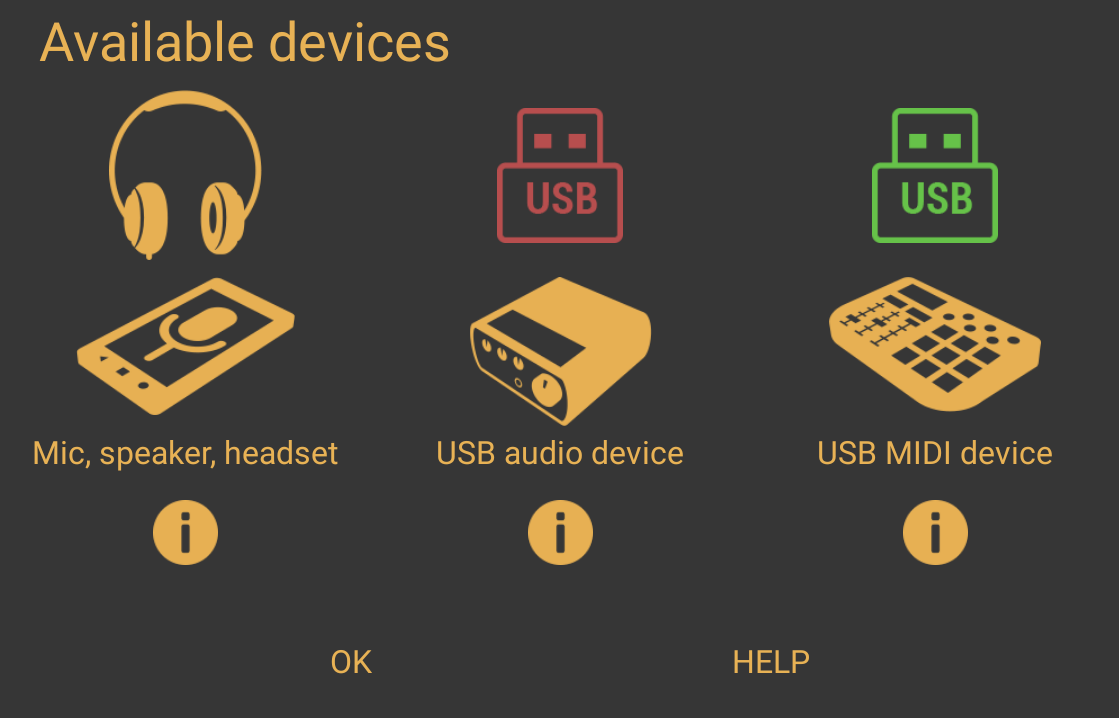
There are three basic rules that determine if your Android/USB MIDI device combination will work:
- Your Android device supports USB host mode
- Your USB interface is 'USB MIDI class compliant'.
- Your Android device supplies enough power to the USB MIDI interface or the interface uses an external power source (like a wall-adapter or a powered USB hub)
See here for more information.
Performance limitations
When using a MIDI keyboard to play virtual instruments live, it is required to use either a USB audio interface in combination with our USB audio driver, or an Android device that features reasonably low latency: it takes time between a note press on a MIDI keyboard and the generated audio being heard. If this time period is too long (high latency), it will make it hard to play the keyboard in real-time. Our USB audio driver will provide sufficiently low latency for most people to play virtual instruments. To get the lowest latency without a USB audio interface, make sure to select the Oboe/AAudio audio system, the device's native sample rate and a Oboe/AAudio buffer size factor of 2x or the native buffer size.
Making Connections and Starting the App
If you are using a USB audio interface with 5-pin MIDI inputs and outputs, you can connect your MIDI equipment using 5-pin standard MIDI cables to the USB audio interface at any time.
Whether you are connecting a USB MIDI interface directly to the Android device or connect your MIDI equipment using a 5-pin MIDI port on a USB audio interface featuring MIDI ports, it is best to make the USB connection BEFORE starting Audio Evolution Mobile. Making connections once the app is running can often mean that external devices will not get detected so it's best to go into the habit of connecting everything beforehand. It can also be sensible, for the most reliable recording, to put your device into 'Airplane' mode, shut down as many tasks as possible and disable any battery saving mode. Currently, Audio Evolution Mobile has to run in the foreground, so do not switch to other apps during recording or playback since background apps only get limited CPU time and some Android device halt USB signals.
- Plug your OTG cable into your devices USB socket.
- Now, use a USB cable to connect your USB MIDI device's output to the OTG cables input.
- Launch Audio Evolution Mobile.