Markers and Marker Options
There's a lot of functionality possible by using the various types of marker available within the Timeline/Marker Display of Audio Evolution Mobile. For that reason, this extra section on markers has been included to place all of the marker definitions in one place and avoid the definitions related to markers in the Arranger Screen topic becoming overly long.

As you can see above, there are five types of marker which appear in the Timeline/Marker Display at the top of the Arranger Screen.
- The green Time Marker
 indicates the current time position for playback and recording in the project. The Time Marker is also what you position to Paste
  at a specific place and to import using Insert at Time Marker.
- The yellow Loop Markers
 indicate the loop start and loop end point for the Loop
  playback mode. Touch, hold and slide to move and position the loop markers. Remember the Grid
  options and snap-to grid functionality if you want to easily snap to increments of the tempo. Loop markers can be automatically set to the clip boundaries of a selected clip via the Clip Options and can also be set to the boundaries of a Range
  via the Range options.
- The blue Standard Markers
 are added to the timeline, one at a time, by the user. They can be added just as reminders of events occurring at that point, such as a chorus, or as points to jump to easily using the the Jump to
  function, or for any other function that you want really. Markers can be added using the Marker
  button or via Add marker in the Marker Options, accessed by double tapping on the Timeline/Marker display You can name your markers anything you want. Rename them via the Marker Options if necessary. You can also choose whether the Marker numbers or Marker names are displayed in the User Interface section of the Settings. Once added, touch, hold and slide to move and position the markers if necessary. Remember the Grid
  options and snap-to grid functionality if you want to easily snap to increments of the tempo.
- The red Punch In/Out Markers
 indicate the Punch In and Punch Out points for Punch In/Out recording. Activate the Punch In/Out recording mode via the Marker Options by double tapping the Timeline/Marker Display. Touch, hold and slide to move and position the Punch In/Out markers. Remember the Grid
  options and snap-to grid functionality if you want to easily snap to increments of the tempo. Punch In/Out markers can be automatically set to the clip boundaries of a selected clip via the Clip Options and can also be set to the boundaries of a Range
  via the Range options.
- The turquoise Tempo Change Markers
 set the points at which the project tempo and/or time signature change. Add a tempo change via the Marker Options by double tapping the Timeline/Marker Display. Once added, touch, hold and slide to move and position the Tempo change markers. Remember the Grid
  options and snap-to grid functionality if you want to easily snap to increments of the tempo. Once a tempo change has been added, the Project Start Tempo marker will be displayed at the start of the Timeline/Marker display as seen above. Tempo changes are an important feature and are covered in their own section here.
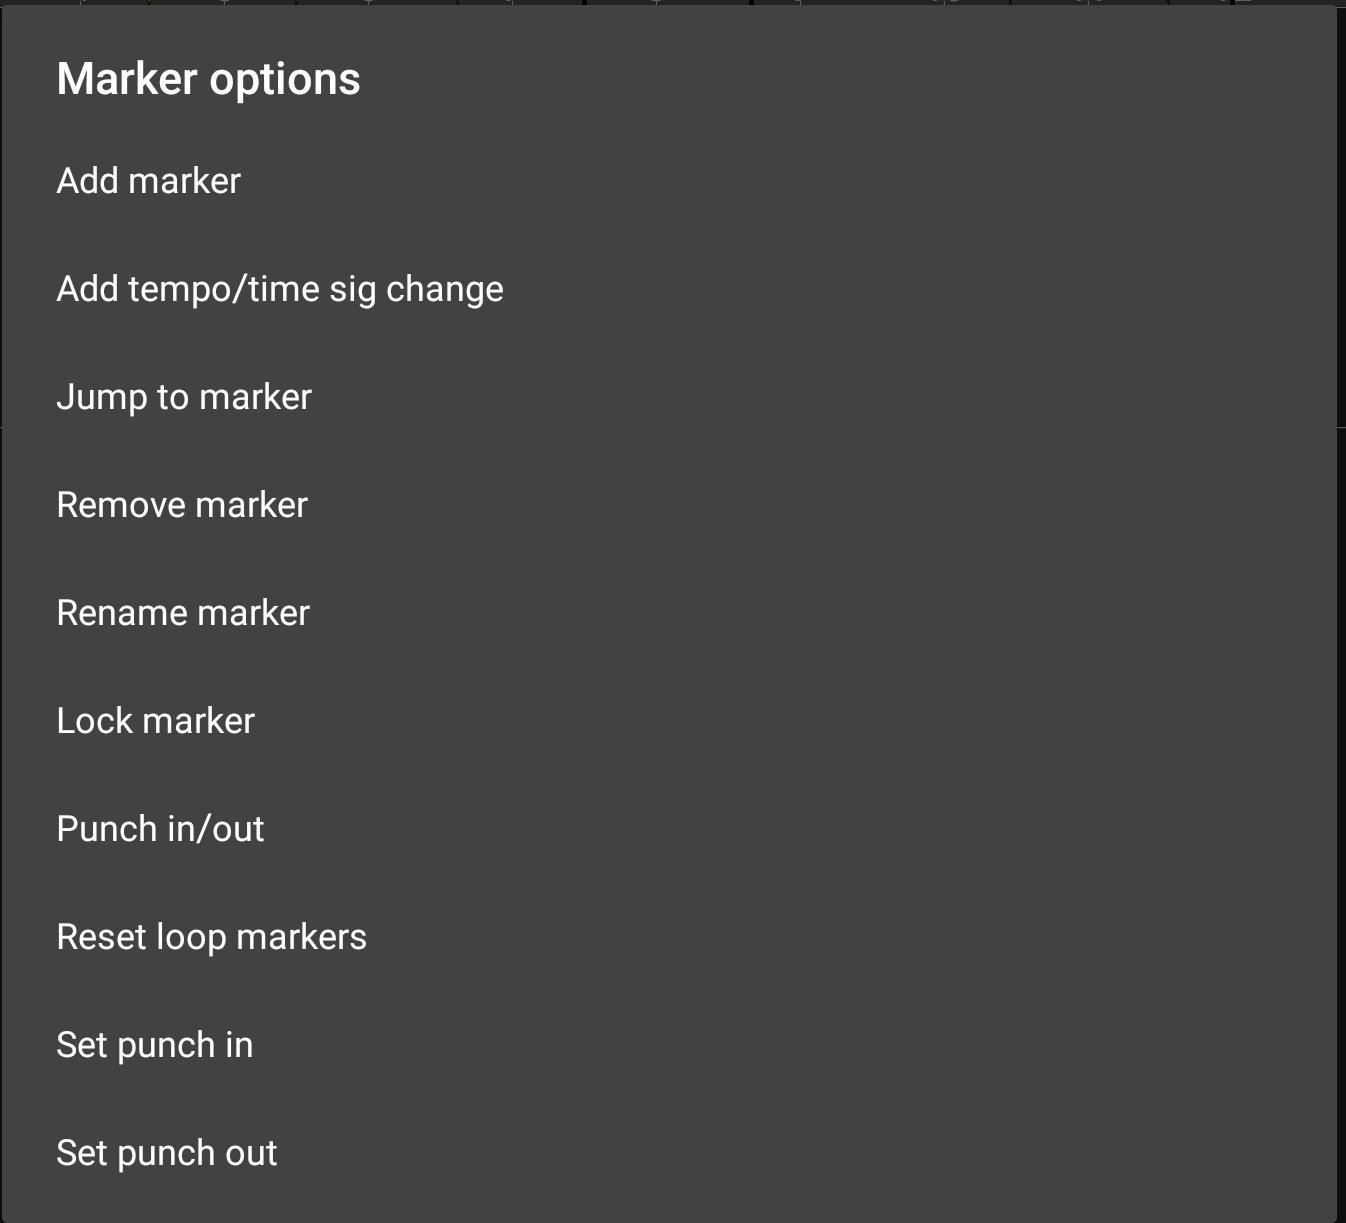
As has been mentioned above, double tapping the Timeline/Marker Display opens the Marker Options seen here.
